In my previous blog I talked about how to get started with external components. One of my goals when utilizing them was to be able to take data from an asset and use that in a component. The possibilities you can do are endless. I am going to dive into an example of a working component that will receive a value from CH and display it.
Let’s start with the following. In this example we will see files with the .tsx extension.They are typescript files that contain JSX syntax.
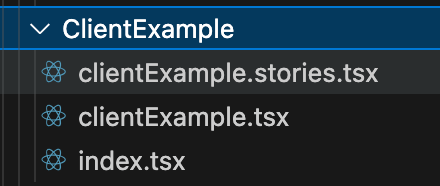
Starting with the clientExample.tsx you will see the following code. See comments in the code for a breakdown of what the syntax does.
//Helper Libraries
import { entityLoadConfigurationFromOptions } from "@/lib/data/dataHelpers";
import type { IModuleProps } from "@/lib/types";
import { useEffect, useMemo, useState } from "react";

//Sets the property and value that will be received. In this case you can send any property value as long as it is a string.
export type ClientExampleConfig = {
  propertyName: string;
};

export default ({ createClient, config, options }: IModuleProps<ClientExampleConfig>) => {
  const [propertyValue, setPropertyValue] = useState<string>();

//The createClient is provided by the Content Hub to communicate with the component.
  const client = useMemo(createClient, [createClient]);

//This code will only load the configured property. Important not to load everything for better performance.
  const loadConfiguration = useMemo(() => entityLoadConfigurationFromOptions({ properties: [config.propertyName] }), [config.propertyName]);

//Fetches the entity. When the entity changes the model loads. Gets the property value and stores it in state.
  useEffect(() => {
    (async () => {
      if (!client || !loadConfiguration || !options.entityId) setPropertyValue(undefined);
      else {
        const entity = await client.entities.getAsync(options.entityId, loadConfiguration);
        setPropertyValue(entity?.getPropertyValue(config.propertyName) as string);
      }
    })();
  }, [client, options.entityId]);

//This displays the property value. This part should look somewhat familiar as it uses HTML.
  return (
    <dl>
      <dt>{config.propertyName}</dt>
      <dd>{propertyValue ? propertyValue : <em>Not set</em>}</dd>
    </dl>
  );
};
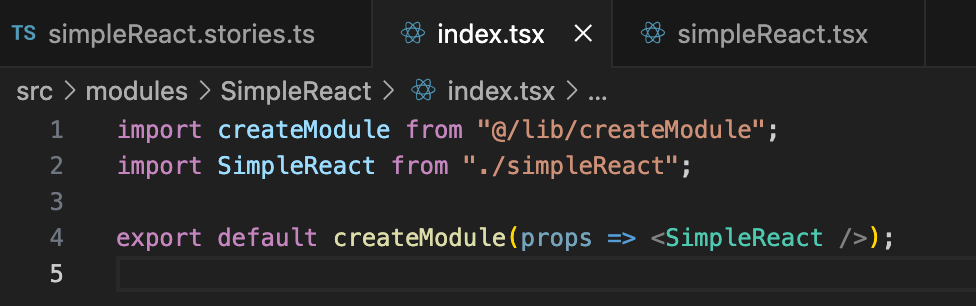
Tying this together with the index.tsx you will see the following code. See comments in the code for a breakdown of what the syntax does.
//Uses a helper library to create
import createModule from "@/lib/createModule";
//Imports the React component and adds the configuration type it expects.
import ClientExample, { ClientExampleConfig } from "./clientExample";

//These lines bring it all together to create the module.
export default createModule<ClientExampleConfig>(
props => <ClientExample {...props} />
 );
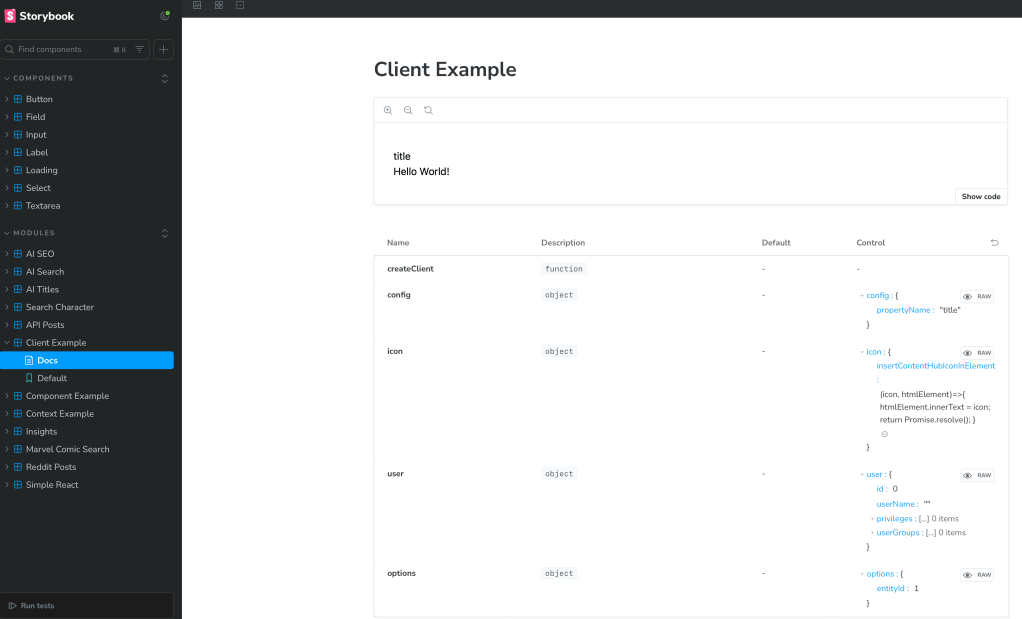
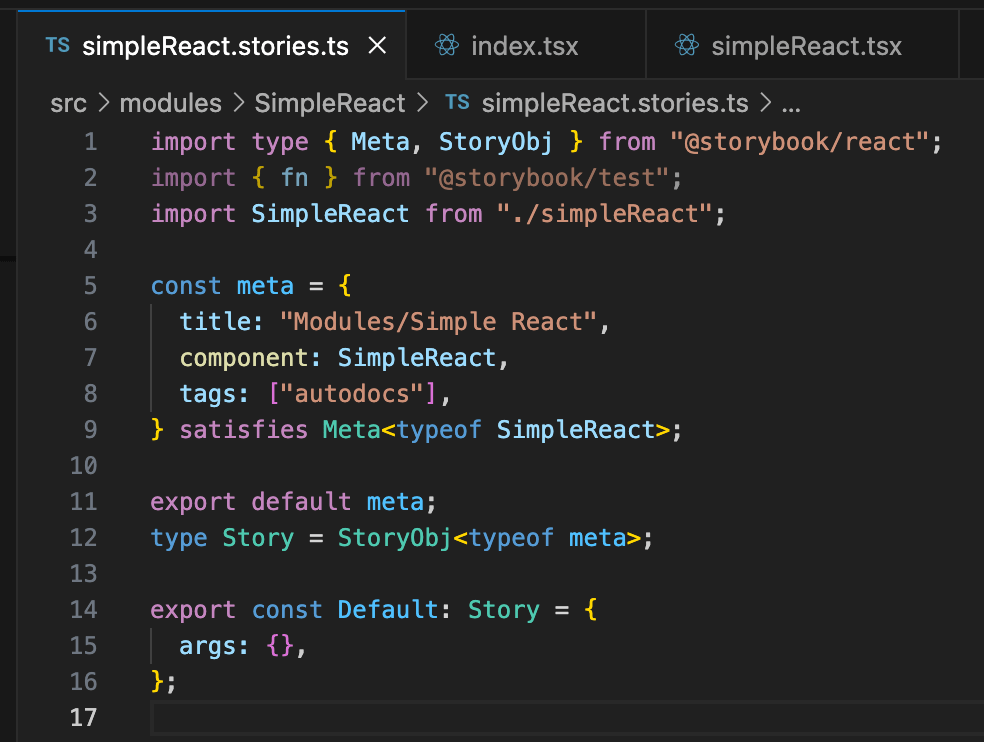
As I would suggest to everyone Storybook is a powerful tool that I highly recommend to test components. Let’s take a look at clientExample.stories.tsx.
//Defines component story and variations.
import type { Meta, StoryObj } from "@storybook/react";
//Defines the configuration.
import ClientExample, { ClientExampleConfig } from "./clientExample";
//Helpers that simulate Content Hub behavior.
import { CreateMockEntity, CreateMockModuleProps, CreateMockQueryResponse, MockApiHandler, MockBaseUrl, MockEntityId, MockRoutes } from "@/lib/mockData";

//MSW = Mock Service Worker
//Intercepts HTTP calls in the browser and replace it with a mocked responses.
import { http, HttpResponse } from "msw";

//These can be set to whatever values you want to test.
const mockedPropertyName = "title";
const mockedPropertyValue = "Hello World!";

//Registers the story and supplies the default props.
const meta = {
  title: "Modules/Client Example",
  component: ClientExample,
  args: {
    ...CreateMockModuleProps<ClientExampleConfig>({ propertyName: mockedPropertyName }),
    options: {
      entityId: MockEntityId,
    },
  },
  tags: ["autodocs"],
} satisfies Meta<typeof ClientExample>;

export default meta;
type Story = StoryObj<typeof meta>;

//Defines the story
export const Default: Story = {
  parameters: {
    msw: {
      handlers: [
        MockApiHandler,
        http.post(MockRoutes.entities_by_query.href, () => {
          const entity = CreateMockEntity({ [mockedPropertyName]: mockedPropertyValue });
          return HttpResponse.json(CreateMockQueryResponse([entity]));
        }),
      ],
    },
  },
  args: {},
};
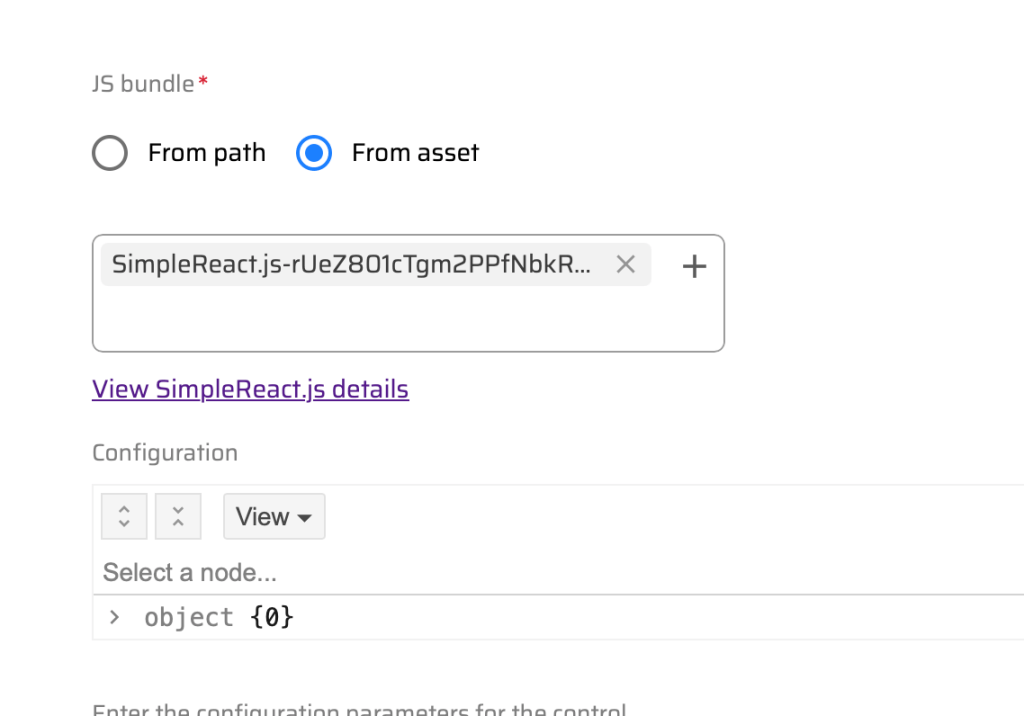
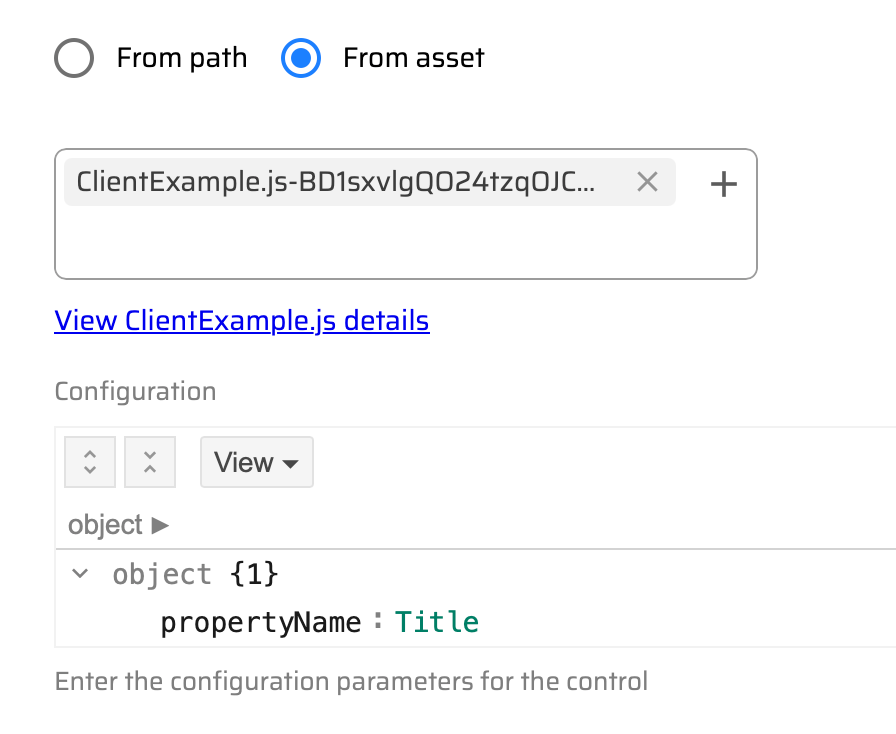
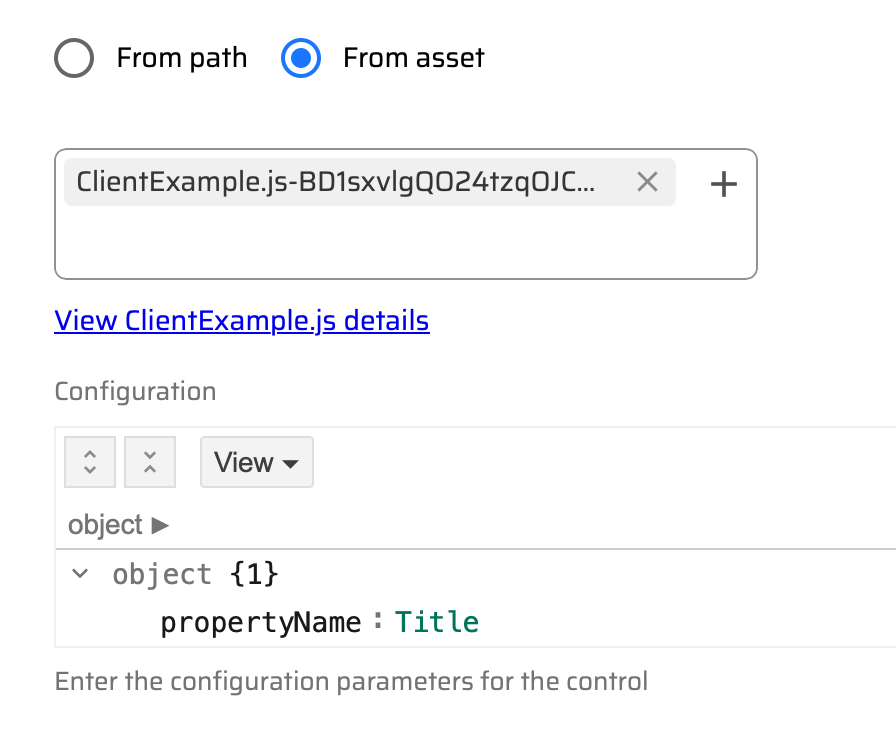
As stated in my previous blog the title and any asset property can be passed into a React component as you see below.
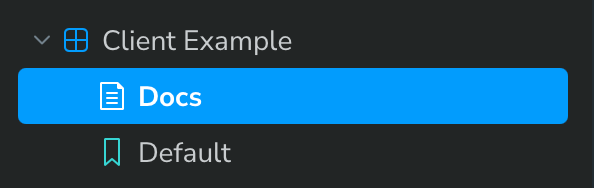
For this however we will run a quick test in Storybook from the command line in the project (npm run storybook;). You can see the results below:

Wrapping Up
I always like to give people the basics when it comes to getting started. I hope this answers some of your questions on the structure of a React component and how it is used with Sitecore’s Content Hub. Let me know if you have any questions. You can also refer back to my previous blog. Now boldly go and create some new external React components!