Several years ago I posted about essential tools for every Sitecore developer. A lot of things have changed since then. You can find that blog here if you want to go down memory lane. Fast forward to the current world of AI. A lot has changed since then, but not just because of AI. As it is inevitable, languages have changed and the way we code has. Here is my list of what I like to use in the current year. Let me know what you would add.
Visual Studio Code
VS Code has taken over a lot of functionality that we used to use with Visual Studio. With React components I have not gone back to using Visual Studio unless it is for MVC. Not only does VS Code work well with development environments it works well with opening text files that I used notes for in the past. It also works well on MacOS and seems to have no limitations.
Microsoft Copilot
If you needed a virtual developer that was a parrot on your shoulder this would be it. Using AI you get so many more features now in your development environment. Inlined code previews and contextual recommendations just to name a few. I believe Cursor has become popular, but I haven’t used that as much yet.
Your Preferred AI
ChatGPT, Claude, Gemini etc… are all battling it out. It is good to have some options to run things by. You will be surprised the different answers you get.
Sitecore Starter Kit
Every great project has to start somewhere. I always suggest starting with the starter kit. It not only benefits your architecture, but if you have any support tickets with Sitecore it will be easier for them to troubleshoot. You can find XM Cloud/SitecoreAI starter kit here.
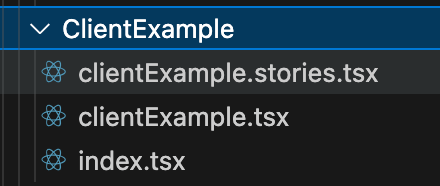
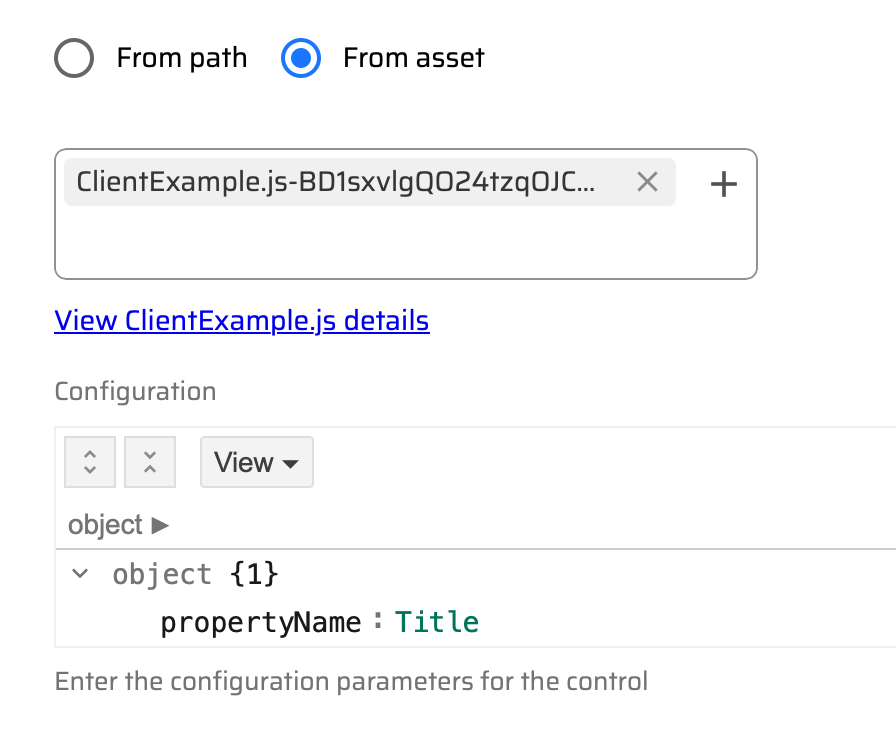
Storybook
You don’t always have access to test something real time and/or you just want to see if things in theory will work. With Storybook as part of your React solution you can test your components before they are used anywhere else. A good example is if you don’t have access to the Content Hub at the moment and you just need to test if something will work. You can simulate the data and see the expected results.
Sitecore Serialization
Unicorn and TDS were both essential products for classic Sitecore sites. However Sitecore Serialization is the way to go for the smoothest transition to serialize your Sitecore items. It works well and easy to setup.
PowerShell
I can’t count the number of times I needed to use PowerShell. You can use it for so many things. From fixing data, to uploading a big set of images and creating reports. You can use AI to help you write scripts. Of course they should be tested with a small set of data. You can find more about it here.
Accessibility Checker
Having an accessible site is important. There are a lot of tools to use. One of the more popular ones is Siteimprove. Anyone should be able to browse a website no matter their special abilities.
AstroGrep
I may not use this as much as I did in the MVC world, but as your solution grows and serialized items this tool will come in handy still. Searching inside files is key when you need to find that hard to find bug issue. You can find it here.
Sitecore Icon Search
Always use this tool to find the correct icon for the right Sitecore item. You can find it here.
Sitecore Author Toolbox
Must have tool for anyone that uses Sitecore. Many great features with this that will make the user experience better. I like dark mode and rearranging how tabs appear. You can find it here.
Sitecore Community
Saving the best tool for last. I dare you to find a better community that helps each other out. Here is a list of Sitecore community sites to join.
- Join the Sitecore Slack community. You can find it here.
- Sitecore Reddit channel has all the latest blogs and news. Find it here.
- Follow and like Sitecore on LinkedIn. Find it here.
- Find a local Sitecore meetup group. They also have online ones as well.
Wrapping Up
This list will keep changing, but one thing is for certain. AI is a great tool for developers, but will not replace them. You need to make sure code is clean, scalable, secure and ready for production. Code reviews and thorough developers are needed more than ever. So what tools do you use?